How-To’s
Generators and Open Source Part 2 – Always a better mousetrap
by firestorm_v1 on Feb.15, 2022, under Embedded devices, Hardware, Hardware Pr0n, How-To's, Miscellaneous

In Part 1, I discussed the research, physical installation, a bit of maintenance, and the overall basic operation of the Generac 22kW Guardian whole home generator. In this post, we’ll go over the monitoring of the generator and quickly outline the vendor’s supplied option as well as the Open Source option I decided on, and even up contributing to! Yes, even though I’m not a developer, I managed to contribute to an Open Source project and helped the developer out!
(continue reading…)Check on the ERCOT grid using cURL and jq
by firestorm_v1 on Feb.01, 2022, under How-To's, Miscellaneous, Quick Hacks, Software

So, if you’re a Texan, you already know who ERCOT is and you already know what’s going to happen in the next few days. If you’re not Texan, or you haven’t been eyeing the weather, it’s going to freeze. If you’re not sure what the connection to freezing weather and ERCOT, I’d recommend reading up on it here: Wikipedia This quick hack article isn’t about them per se, but something that might be helpful to keep an eye on the grid in the upcoming winter storm.
(continue reading…)Quick Hack: Make a MSDOS Bootable USB drive… with Virtualbox?
by firestorm_v1 on Jun.29, 2019, under How-To's, Miscellaneous, Quick Hacks
To set the scene for this quick hack, I needed an MSDOS bootable USB drive so that I could flash firmware for a FreeNAS box I was building. Infortunately FreeDOS wasn’t working, unetbootin had failed me, and I was getting desperate. Fortunately VirtualBox to the rescue!… wait, what?
- Install Virtualbox
- Acquire a MSDOS .iso from the Internet (they’re out there.)
- Create a new VM with a 500MB hard drive.
- Attach the MSDOS iso to the VM and boot it
- Depending on which MSDOS iso you have, you will need to partition and format the C: drive. Use fdisk to partition the 500MB drive (don’t forget to set it bootable) and then use format c: /s to format the 500MB drive as bootable. Perform the MSDOS installation or copy the DOS directory from the ISO.
- Shutdown the VM
- Locate the .VDI for the VM and use VBoxManage to export it to raw: VBoxManage clonehd image.vdi image.img –format raw
- Use a tool like dd, rawwritewin, or imgburn to write the image.img file to a USB key.
- Upon successful write, remove then reinsert your USB key. Your machine will mount it as a typical USB drive (Windows/Linux/Mac all behave the same in this regard).
- Copy over the BIOS flashing utilities, RAID flashing utilities, etc. to the key drive.
- (Optional) You can also create a \efi\boot directory and place a uefi boot file in there if you need it as well.
- Eject the USB drive, then boot your target system. The USB disk will show up as drive C:.
The secret sauce is the VBoxManage command. It allows you to export a Virtualbox Disk Image (VDI) to a raw image that can be written to a USB disk. Now you have a solid MSDOS installation on a keydrive for all those damned ROM flashing utilities that will only work in DOS!
Happy hacking!
firestorm_v1
Overhauling the Battery Backup in an HP DL380
by firestorm_v1 on Jun.20, 2017, under Hardware, How-To's
Everyone knows that in most if not all devices, batteries are considered a wear item, an item that’s designed to be replaced at certain intervals of a machine’s lifetime. (Ok, unless you’re Samsung… or Apple… or any one of a bunch of stupid laptop vendors) Enterprise level servers are no exception. What is outrageous though is these consumables are usually stupidly expensive and can be repaired for much less than the replacement part. In this case (and this post), I saved myself about $63 by building my own replacement battery pack for my HP SmartArray P400 raid card.
Home Automation – Making a dumb switch for smart lights.
by firestorm_v1 on Feb.23, 2016, under Embedded devices, Hardware, How-To's, IoT
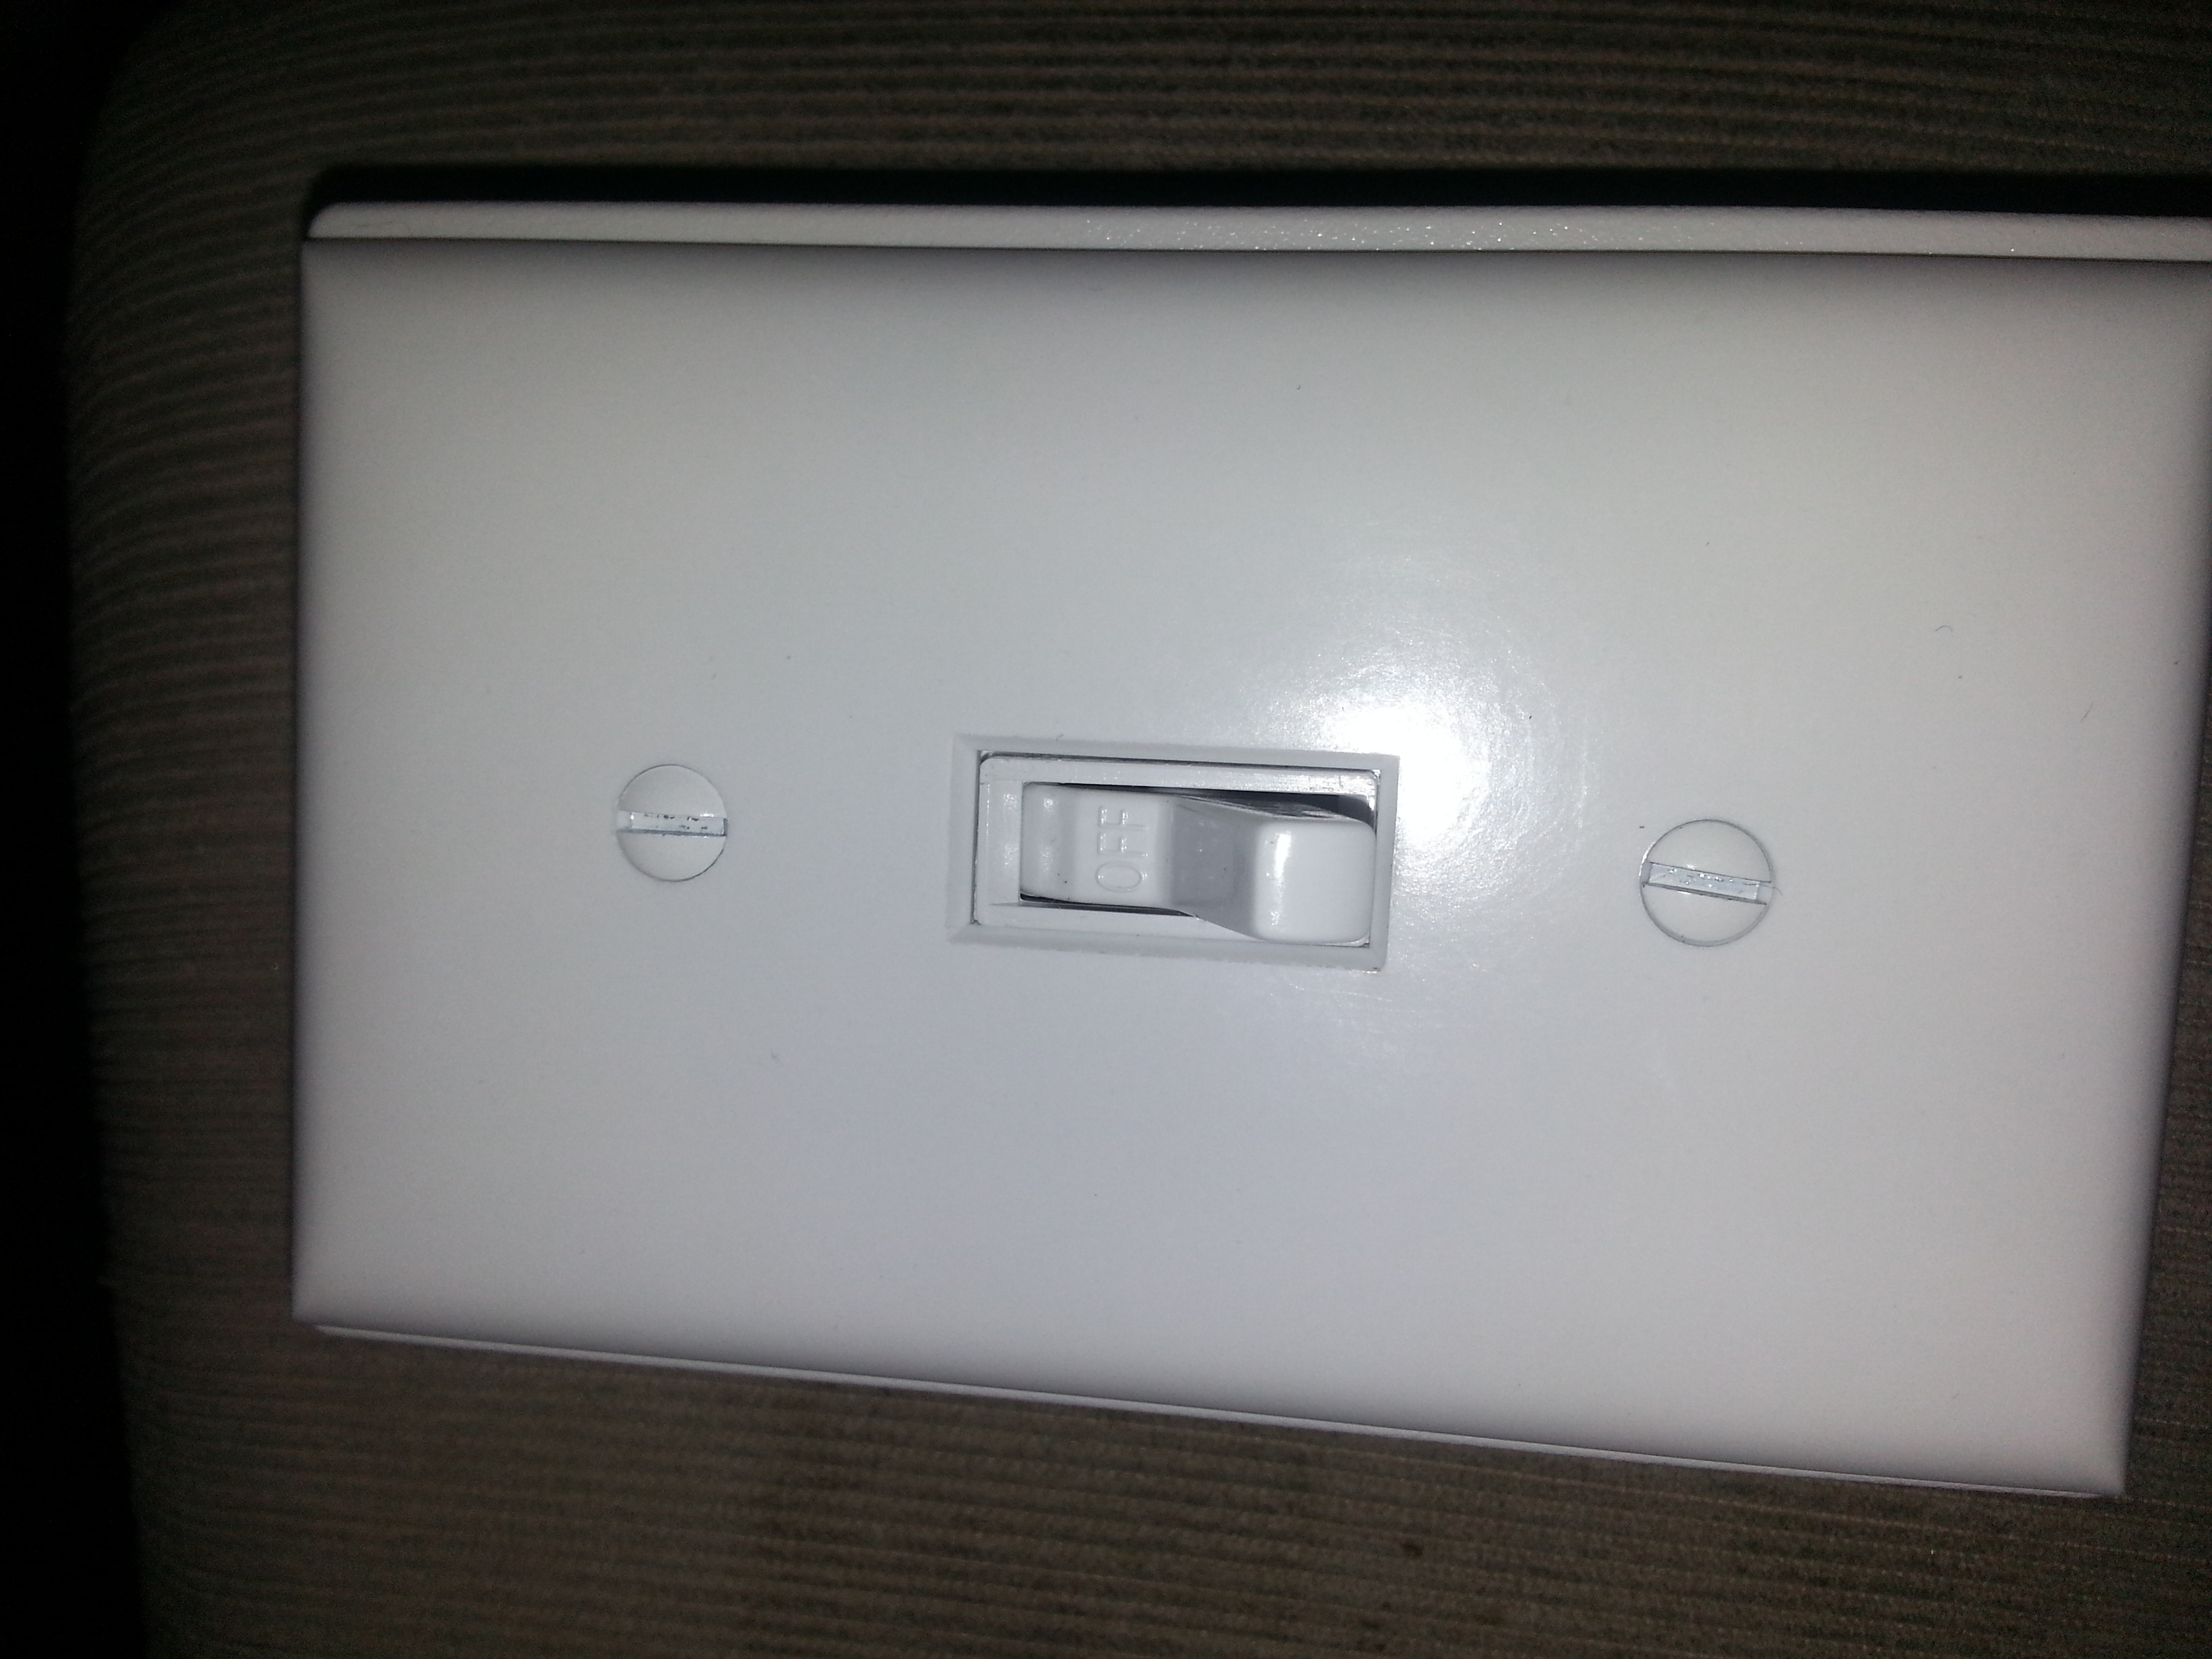
 It might not look like much, but the switch used as this feature image has more to offer than one would think judging by appearances. In this article, we will be converting a “stupid” switch into a “smart” switch for the purposes of controlling a connected GE Light Bulb over Z-wave and discuss why you’d want to look for a stupid switch for smart devices in the first place. (continue reading…)
Cisco WiFi – Disconnect from the hive mind
by firestorm_v1 on Jul.16, 2015, under Embedded devices, Hardware, How-To's, Linux, Networking

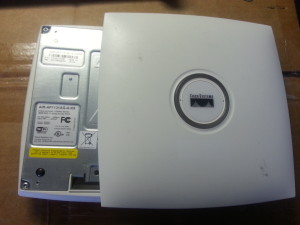
Cisco AIR-AP1131AG-A-K9
Everyone knows that I love a bargain. That love for bargains is intensified any time networking gear is involved. Imagine my excitement when I found a bunch of the above pictured Cisco access points on Ebay for around $8 a pop because the lid won’t stay on. Unfortunately, my excitement was tempered a bit when I found out that these were designed to work with a controller and weren’t stand alone units. Undeterred by this disappointment, I researched and found a way to get these things to operate on their own as standalone units and freed them from the hive mind! In this article, we will cover converting the Cisco AIR-AP1131AG-A-K9 from “Lightweight”(controller-based) to “Autonomous”(standalone) and will even cover how to put them back in “Lightweight” mode if you want later on.
How to build a [better] Minecraft Server
by firestorm_v1 on Mar.10, 2013, under How-To's, Linux, Toys and Games

Quite some time ago, I posted an article on how to build a basic Minecraft Server which served to get you up and off the ground with multiplayer gameplay. It’s been two years since that article was posted and there have been so many advances in the Minecraft Server realm from administration changes (now you have a fancy GUI) to core game changes that allow for the modification for just about everything gameplay related. Popular alternative servers (Bukkit, Tekkit, Feed The Beast, etc..) allow for mods to be used which can drastically expand your Minecraft experience. This howto will detail the process going from a basic Debian server installation to a fully fledged vanilla Minecraft server with a browseable map. Read on for the full article, it’s pretty long but we have a lot to cover. (continue reading…)
Hardware: Remote Control your Arduino
by firestorm_v1 on Jul.10, 2012, under Hardware, How-To's, Microcontrollers

Have a giant Arduino powered killbot, but can’t fancy being right next to it when you unleash it on the unsuspecting populace? Want to change the mood-lights in your dorm without having to get up off the couch? Why not use IR remote controls to do the walking for you? In this article, I will be covering how to use the IRremote Library written by Ken Shirriff for the Arduino to control a seven segment display as a proof of concept. Killbot not included.
Networking: Bringing IPv6 into your network using pfSense
by firestorm_v1 on Dec.01, 2011, under How-To's, Networking, Software
 The Internet as we know it is undergoing a significant change. With the last IPv4 addresses being allocated out, the Internet has officially run out of address space. IPv6 is the next-generation IP addressing system that aims to resolve this issue however the changes proposed are drastically different than the current IP schema currently in place and for most is quite a daunting task to switch. In this post, we will cover some basic IPv6 information and some fundamental differences between v4 and v6 (aside from tons of IPs), and finally we will build out a pfSense firewall with IPv6 using pfSense and a free IPv6 tunnel provided by Hurricane Electric. Read more to get started on the cutting-edge of Internet infrastructure. (continue reading…)
Networking: Installing and configuring pfSense Embedded
by firestorm_v1 on Nov.11, 2011, under Embedded devices, How-To's, Networking, Security, Software

After publishing the last post on networking and the security series, I felt it was necessary to go ahead and publish a piece on building a custom router. I have been a fan of pfSense for the past four years and swear by it. It has the ease of use of a commercial GUI-driven router and unrivaled flexibility limited only by the hardware it is installed on. In this howto article, we will cover installing pfSense on an embedded platform and initial configuration for getting your router up and running.
